
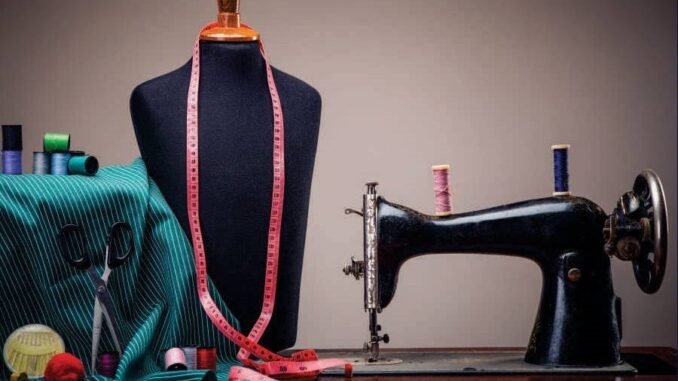
That perfect thrift find is two inches too long. Those pants gap at the waist. That dress would be perfect if the straps were shorter. How do I tailor clothes at home without a sewing machine? Here’s the secret the fashion industry doesn’t advertise: most common alterations don’t require a sewing machine at all. No-sew products, fabric adhesives, and a few basic hand stitches handle roughly 90% of what most people need — hems, waist tweaks, strap shortening, quick repairs. I’ve altered dozens of garments with a $20 kit and zero machine, and the results look professional.
Here’s the complete no-machine tailoring guide: the kit, the techniques, and the limits.
How Do I Tailor Clothes at Home Without a Sewing Machine? The $20 Kit
- Iron-on hem tape ($5) — the MVP. Double-sided fusible webbing that bonds fabric with an iron. Hems pants, skirts, dresses in 10 minutes. Washable and durable.
- Fabric glue ($6, Aleene’s or Gutermann) — for hems, patches, and bonding where tape won’t work. Flexible when dry, washable.
- Needles + thread ($4) — a basic hand-sewing kit. You need exactly 3 stitches (below) for 95% of hand work.
- Safety pins + straight pins ($3) — for fitting, marking, and temporary fixes.
- Fabric scissors ($8) — sharp scissors matter; dull ones chew fabric. Reserve them for fabric only.
- Measuring tape + fabric chalk/marker ($4) — measure twice, cut once is real.
- Seam ripper ($3) — for removing old hems and stitches cleanly.
- Iron + ironing board — pressing is half of tailoring; a crisp press makes amateur work look professional.
The 3 Hand Stitches You Need
- Running stitch: simple in-and-out — for basting (temporary holding) and quick seams. (YouTube: 2-minute tutorial.)
- Backstitch: strong, permanent — for seams that take stress (crotch, waistband). Nearly as strong as machine stitching.
- Slip stitch (invisible hem stitch): for hand-hemming — nearly invisible from the outside. The “professional” hand finish.
That’s it. Every hand alteration below uses one of these three.
No-Sew Alterations (Iron + Tape + Glue)
- Hem pants/jeans: try on with the shoes you’ll wear, mark the length with pins, remove, fold up the excess, press the fold, apply hem tape inside the fold, iron to bond (follow the tape’s heat/time directions). 10 minutes, lasts through dozens of washes. For jeans, the “original hem” trick (cutting and reattaching the original hem with tape) preserves the worn look — YouTube it.
- Hem skirts/dresses: same process. For curved hems, use narrower tape and ease the fabric gently.
- Temporary hems: fashion tape (double-sided body tape, $6) holds a hem for one wear — perfect for “will this length work?” experiments.
- Take in a waistband (no-sew): pinch the excess at the back center, secure with safety pins inside (invisible from outside), or use a waistband extender button in reverse. For a permanent fix, see the hand-sew method below.
- Shorten straps: for camis and dresses — pinch the excess, secure with a safety pin tucked inside, or hand-sew a small tuck with backstitch.
Hand-Sew Alterations (Needle + Thread)
- Take in pant waist: mark the excess, sew two darts (triangular tucks) at the back with backstitch, press flat. Takes 20 minutes, looks tailor-made. (This fixes the curvy-jean waist gap permanently.)
- Taper legs: turn inside out, pin the new seam line, backstitch along it, trim excess, press. Slimmer silhouette in 30 minutes.
- Hem by hand: slip stitch for an invisible finish — better than tape for delicate fabrics and formal wear.
- Sew buttons: the gateway alteration — 5 minutes, and loose buttons make everything look shabby (see clothing revival).
- Close/repair seams: backstitch along the original seam line. Stronger than the factory stitch, usually.
- Add elastic: thread narrow elastic through a waistband casing (safety pin as a bodkin) to take up a loose waist — the 10-minute fix for kids’ clothes and drawstring waists.
When to Use a Professional Tailor Instead
Know your limits — some jobs need a machine and expertise:
- Structured jackets/blazers: shoulders, lapels, lining — the architecture is too complex. Worth the $25–$50 professional alteration.
- Formal wear and suits: the stakes (and fabrics) are too high for learning.
- Leather: needs special needles and machines.
- Major resizing (more than 2 sizes) — the garment’s proportions break down.
- Zippers: replacing a zipper by hand is possible but miserable; a tailor charges $15–$25.
The rule: DIY the simple stuff (hems, waist tweaks, straps, buttons, repairs), pay a pro for structure. A $15 hem at the tailor is still cheaper than new pants — and tailoring is what makes thrift finds and budget wardrobes look expensive.
For visual tutorials on every technique above, no-sew tutorial channels demonstrate better than text, and r/sewing answers specific questions with impressive patience for beginners.
Your First Project: The 15-Minute Hem
If you’ve never altered anything, start here — one project that builds the skill and the confidence. You need: pants that are too long, iron-on hem tape, an iron, pins, and 15 minutes. Step 1: put the pants on with the shoes you’ll wear them with. Step 2: fold the excess under to your desired length and pin it (have someone help, or do one leg at a time in front of a mirror). Step 3: take the pants off, measure the fold to make both legs even. Step 4: press the fold flat with the iron — this crease is your guide. Step 5: tuck the hem tape inside the fold, following the package directions (usually: damp press cloth, 10 seconds of heat per section). Step 6: let cool, turn right-side out, admire. That’s it — you’ve just done your first alteration, saved $15, and the pants fit. Every future project (waist darts, strap shortening, tapering) builds on this same pattern: measure, mark, secure, press. The skill compounds fast.
The practical takeaway: $20 kit (hem tape, fabric glue, needles, pins, scissors, tape measure), 3 hand stitches, and YouTube. Hem everything, take in waists with darts, shorten straps, fix buttons — and send structured jackets and formal wear to a pro. Fit is the cheapest luxury in fashion, and now you can manufacture it at home.
Leave a Reply