
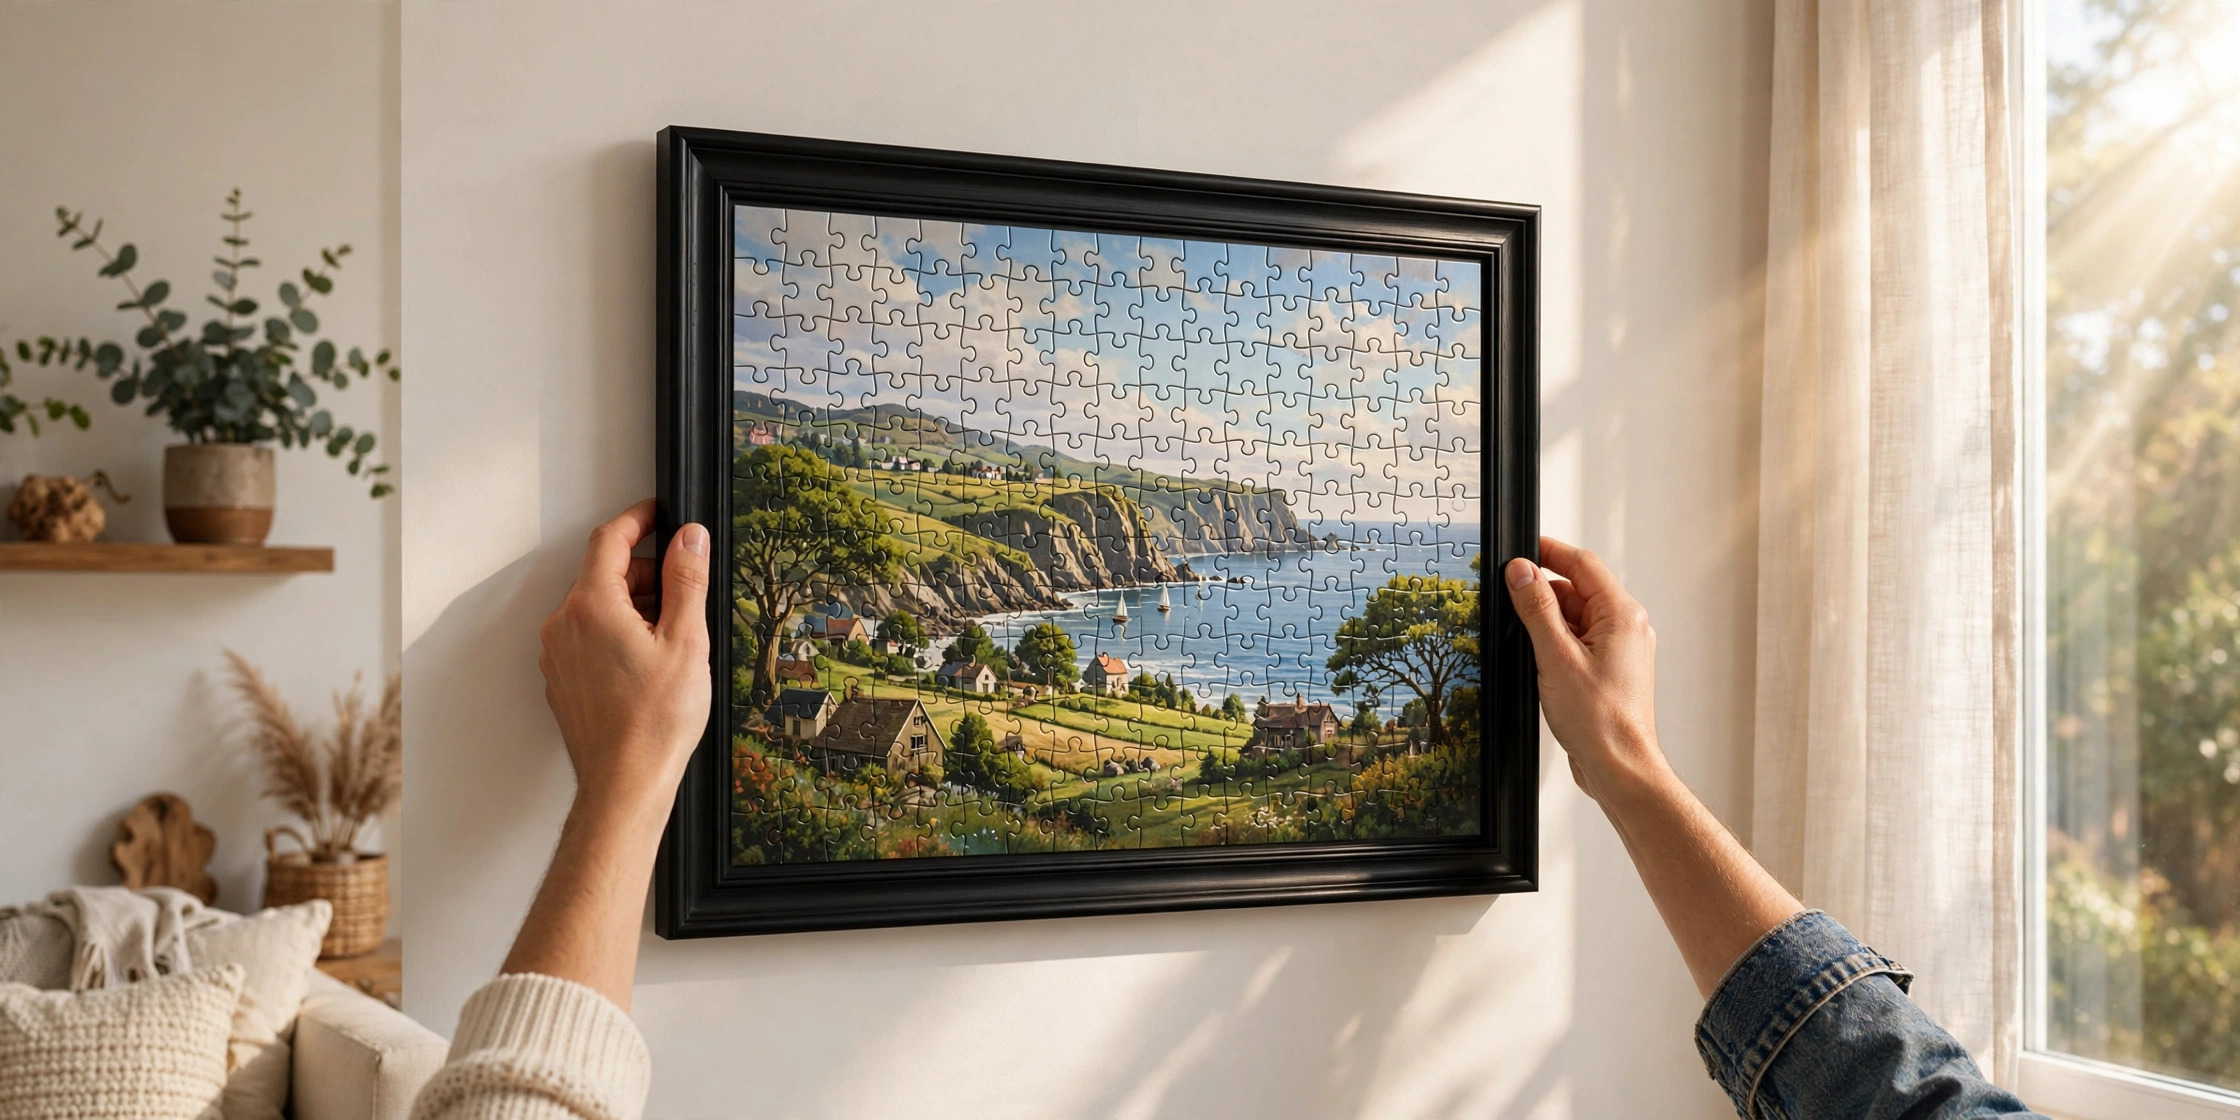
You have spent hours — maybe weeks — completing a beautiful jigsaw. Breaking it up feels like a crime. So the natural question is: how can I frame a puzzle so it lasts? The good news is that preserving a finished puzzle is straightforward, cheap, and the result genuinely looks like art on your wall.
This complete guide walks through the whole process: gluing, mounting, choosing a frame, and hanging it safely.
Step 1: Prepare Your Finished Puzzle
Before any glue touches the puzzle, do a final check. Make sure every piece is seated properly — press down gently across the whole surface. Flip through the box image one last time to confirm no piece is forced into the wrong spot (a misplaced piece becomes permanent once glued).
Slide sheets of wax paper or newspaper under the edges of the puzzle to protect your table from drips, because puzzle glue bonds to wood finishes surprisingly well. Work in a well-ventilated area, because puzzle glue has a noticeable smell while wet.
Step 2: Glue the Front
Puzzle glue (sometimes sold as ‘puzzle conserver’) is a clear-drying adhesive made for exactly this job. Mod Podge Puzzle Saver is the best-known brand, but any clear puzzle glue works.
- Pour a line of glue across the top of the puzzle.
- Spread it evenly with a foam brush or old credit card, working it into the seams between pieces. Cover the entire surface — edges included.
- Apply a second coat once the first is tacky (about 20 minutes), brushing in the opposite direction.
- Let it dry completely — at least 4 to 6 hours, ideally overnight. The glue dries clear with a slight sheen.
Do not skimp on coverage. Thin, patchy glue is the single main reason preserved puzzles later warp, bubble, or shed pieces around the edges. Two generous, even coats are the standard recommended by absolutely everyone from casual puzzlers to the jigsaw puzzle community on Wikipedia.
Step 3: Secure the Back (Optional but Smart)
For puzzles you really care about, glue the back as well. Carefully slide the dried puzzle onto a large board, flip it over (two people and a second board make this safe), and apply glue or wide packing tape across the back. This locks every piece from both sides.
Alternatively, adhere the whole puzzle to a foam board or thin plywood with spray adhesive or PVA glue. This gives the puzzle rigidity and makes framing much easier — especially for large puzzles that would otherwise flex.
Step 4: Choose Your Mounting Method
Direct Framing (No Mat)
The simplest approach: place the glued puzzle directly in a frame with the glass or acrylic pressing gently on the surface. This works beautifully for standard-size puzzles and gives a clean, modern look.
Mounting on Foam Board
Glue the puzzle to a foam board cut slightly larger than the puzzle, creating a border effect. Then frame the whole board. This adds depth and makes the piece look more like gallery art.
Floating Frame
A floating frame holds the puzzle slightly away from the frame edges, creating an elegant shadow gap all around. It is the most ‘art gallery’ of the options and suits striking, colourful puzzles.
Step 5: Pick the Right Frame
Puzzle dimensions are not always standard, so measure your finished puzzle carefully — length and width to the nearest millimetre. Then:
- Check standard frame sizes first. Many puzzles are designed to fit common frame sizes, which saves money.
- Consider a custom frame for odd sizes or large puzzles. More expensive, but the fit is perfect.
- Choose simple moulding. Thin black, white, or natural wood frames let the puzzle be the star. Ornate frames fight with busy puzzle images.
- Use acrylic instead of glass for large pieces — it is lighter, safer, and will not shatter if the frame falls.
- Skip the mat unless you are deliberately creating a border look; most framed puzzles look best full-bleed.
- how to solve a puzzle
The history of picture framing shows that simple presentation has been the gallery standard for over a century — there is a reason for that.
Step 6: Hang It Properly
A framed 1,000-piece puzzle is heavier than you expect. Use proper picture-hanging hardware rated for the weight — not a single small nail. For large pieces, two wall anchors spread the load and keep the frame level. Hang away from direct sunlight, which gradually fades puzzle inks over time, and always avoid steamy bathrooms and kitchens.
Alternative: No-Glue Preservation
Do not want to commit? A few options preserve the puzzle without adhesive:
- Puzzle frame kits with a jigsaw-shaped recess hold pieces in place mechanically.
- Glass sandwich frames press the puzzle between two sheets — no glue, fully reversible.
- Photograph it beautifully and break it up. A well-lit photo preserves the memory; the puzzle lives to be enjoyed again.
Common Mistakes to Avoid
- Gluing before checking every piece. One wrong piece, glued forever. Check twice.
- One thin coat of glue. Be generous — two full coats minimum.
- Framing while damp. Trapped moisture warps the puzzle inside the frame. Wait a full 24 hours.
- Wrong frame size. Measure the actual puzzle, not the box dimensions — they can differ by several millimetres.
Love puzzles but not ready to frame one yet? Our guide on how to solve a puzzle faster will speed up your next build, and pressing flowers in a book is another lovely way to preserve something beautiful.
Unusual Sizes and Shapes
- Panoramic puzzles (very wide, short height) rarely fit standard frames — expect a custom frame or a made-to-measure acrylic sandwich.
- Round puzzles suit round or square frames with a mat cut to a circle; a local framer can cut the mat cheaply.
- 3D puzzles cannot be glued flat at all — display them on a shelf or in a deep box frame (shadow box) instead.
- Mini puzzles (under 200 pieces) look charming in small box frames grouped as a gallery wall.
What Does It Cost?
- DIY with a standard frame: £10–£30 for glue plus a ready-made frame — the budget champion.
- DIY with custom frame: £40–£120 depending on size and moulding.
- Professional framing: £60–£250+, but the result is flawless and fully archival.
For a puzzle you spent 30 hours completing, professional framing is often worth it — the cost per hour of enjoyment is tiny.
Frequently Asked Questions
Can I use regular glue instead of puzzle glue?
Mod Podge or PVA works in a pinch, but proper puzzle glue dries clearer and is formulated not to yellow. For a puzzle you love, use the right product.
How long does puzzle glue take to dry?
Touch-dry in about an hour per coat, but wait at least 24 hours before framing to be safe.
Will framing damage the puzzle?
Gluing is permanent, but a glass-sandwich frame preserves the puzzle without any adhesive at all.
Can I frame a puzzle without taking it apart first?
Yes — that is the whole point. Slide wax paper underneath, glue it in place exactly as it lies, and frame it. Never try to move an unglued puzzle; it will disintegrate.
Leave a Reply