
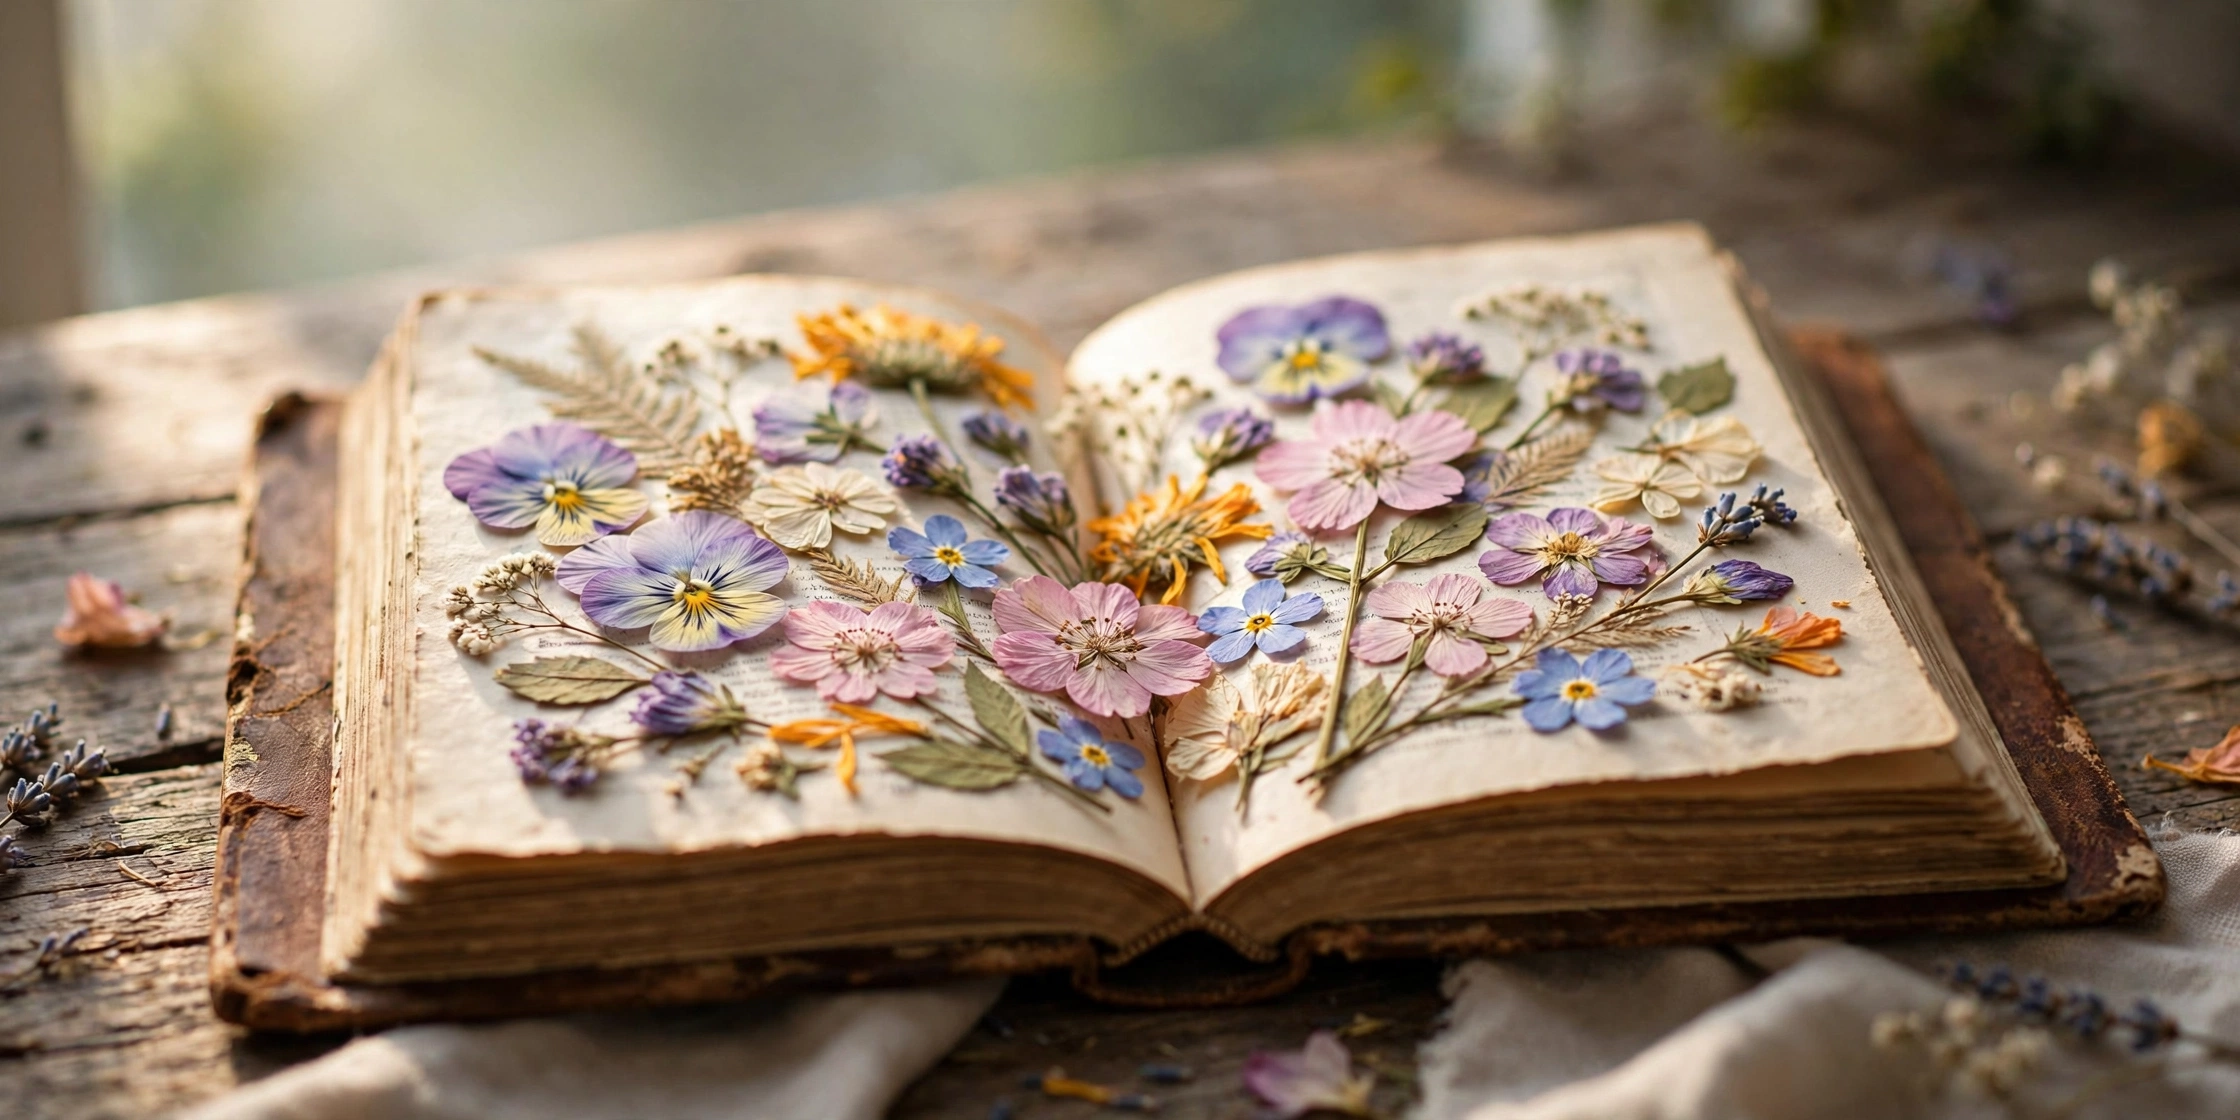
Pressed flowers turn an ordinary walk in the park into lasting art — delicate, perfectly flat blooms you can use for handmade cards, framing, or journals. If you want to learn how to press flowers in a book, the basic method is delightfully simple, but a few small details separate crisp, vibrant results from brown, mouldy disappointments.
This complete guide covers choosing the right flowers, the book-pressing method step by step, drying times, and what to make with your finished pressings.
Why a Book Works So Well
A heavy book does two essential jobs at once: it applies firm, even pressure across the entire flower, and its thick pages steadily absorb moisture over the coming weeks. The classic method needs nothing you do not already own — just flowers, a book, and patience. The Japanese art of oshibana has elevated flower pressing to a fine art over centuries, but the basic technique is the same one you probably tried as a child.
Choosing the Right Flowers
Not all flowers press equally well. The best candidates are naturally flat or thin:
- Excellent: violets, pansies, daisies, buttercups, ferns, Queen Anne’s lace, lavender, cosmos.
- Good with care: roses (press individual petals, not whole heads), tulip petals, hydrangea florets.
- Avoid: thick, fleshy flowers like orchids, lilies, or succulents — they hold too much moisture and usually rot before they dry.
- how to make a sigil
Pick flowers on a dry, sunny day, ideally late morning after the morning dew has fully evaporated from the petals. Always choose blooms that are fresh but fully open — buds will not open further once pressed, and fading flowers press brown.
What You Need
- A heavy book you do not mind sacrificing (old phone directories are ideal; avoid treasured books — moisture can stain pages).
- Plain absorbent paper: coffee filters, blotting paper, or plain printer paper. Avoid newspaper — the ink transfers.
- Fresh flowers and leaves.
- Something heavy to stack on top (more books).
- Tweezers for handling delicate pressings.
How to Press Flowers in a Book: Step by Step
- Prepare the flowers. Remove any thick stems or bulky centres. For chunky blooms, slice them in half with a craft knife so they lie flat.
- Open the book near the middle and lay down a sheet of absorbent paper.
- Arrange the flowers face-down on the paper, leaving space between them so they do not overlap. This is your composition — take a moment to get it right, because you cannot easily rearrange later.
- Cover with another sheet of absorbent paper, then close the book firmly.
- Stack weight on top. Pile several more heavy books on top of the closed book.
- Wait. Leave completely undisturbed for 2 to 4 weeks (see drying times below).
- Change the absorbent paper after the first week if the flowers were juicy — fresh dry paper prevents mould.
- Remove carefully with tweezers once fully dry and papery to the touch.
Drying Times
- Thin flowers (violets, ferns): 2 weeks.
- Medium flowers (daisies, pansies): 2 to 3 weeks.
- Thicker flowers (rose petals, hydrangea): 3 to 4 weeks.
When pressing flowers, rushing is always the enemy. Flowers that feel dry on the surface but are still damp inside will curl and brown within days of being removed. When in doubt, give them another week.
Tips for Vibrant, Long-Lasting Results
- Press the same day you pick. Wilting starts immediately; fresher flowers keep more colour.
- Avoid direct sunlight while pressing — it bleaches colour. A cool, dry shelf is ideal.
- Microwave pressing (between tiles, in short bursts) works in minutes for the impatient, but colours can shift — test with expendable blooms first.
- Seal finished pressings if displaying: a light coat of clear sealant or framing behind glass protects against humidity and fading.
- Store extras flat between sheets of paper in a dry drawer; properly dried pressings last for years. Botanical herbarium collections preserve specimens for centuries using the same principles.
What to Make With Pressed Flowers
- Greeting cards: arrange pressings on card stock, glue lightly, and cover with a second layer or laminate.
- Framed botanical art: the classic — float pressings between two sheets of glass in a frame.
- Bookmarks: press flowers onto card, laminate, add a ribbon.
- Candles: press dried flowers onto the outside of pillar candles with a thin layer of melted wax.
- Journal decoration: glue pressings onto journal covers or use them as chapter dividers.
Common Mistakes
- Using glossy magazine pages instead of absorbent paper — moisture has nowhere to go and flowers rot.
- Overlapping flowers — they stick together and tear when separated.
- Peeking too often. Every opening lets in humid air and disturbs the arrangement.
- Pressing wet flowers. Shake off rain and let surface moisture evaporate first.
Pressed flowers pair beautifully with other paper crafts. If you enjoy preserving beautiful things, see how to frame a puzzle — and for creative fuel, our guide on how to find art inspiration has 15 ideas to try.
Alternative Pressing Methods
The book method is classic, but not the only way:
- Iron pressing: place flowers between absorbent paper and press with a warm (not hot) iron for 10 to 15 seconds at a time. Fast — done in minutes — but easy to scorch, so practise on expendable blooms.
- Microwave pressing: sandwich flowers between paper and microwave-safe tiles, then microwave in 30-second bursts, checking each time. Whole process takes under 5 minutes. Colours can shift slightly, especially reds.
- Wooden flower press: two boards tightened with wing nuts and bolts — the traditional botanist’s tool. Even pressure, stackable, and reusable forever. Worth buying if you press regularly.
- Heavy furniture: in a pinch, flowers between paper under a mattress or sofa work fine. Not elegant, but effective.
Troubleshooting Common Problems
- Brown edges: usually picked too late or pressed too slowly. Pick fresher flowers and press the same day.
- Mould spots: too much moisture. Change the absorbent paper after week one and press in a drier room.
- Flowers stuck to paper: they were not fully dry when removed. Slide dental floss gently underneath to free them, then press for another week.
- Faded colours: some fading is natural, but pressing out of sunlight and sealing finished pieces minimises it. Yellows and blues hold best; pinks and reds fade fastest.
- Wrinkled petals: the flower shifted during pressing. Arrange carefully, close the book decisively, and do not reopen to ‘check.’
Frequently Asked Questions
How long do pressed flowers last?
Kept dry and out of direct sunlight, pressed flowers keep their shape for years, though colours gradually soften. Sealed or framed pieces last longest.
Can I press flowers from a bouquet?
Yes — press them the day you receive the bouquet for best results. Remove them from water, pat dry, and press immediately.
Do pressed flowers go mouldy?
Only if pressed with too much moisture or in humid conditions. Absorbent paper, changed once, prevents it almost every time.
Can children press flowers?
Absolutely — it is a wonderful first craft. Supervise the arranging (little fingers squash delicate petals), use sturdy flowers like daisies and pansies, and let them check the results after two weeks. The delight on their faces is worth the wait.
Leave a Reply