
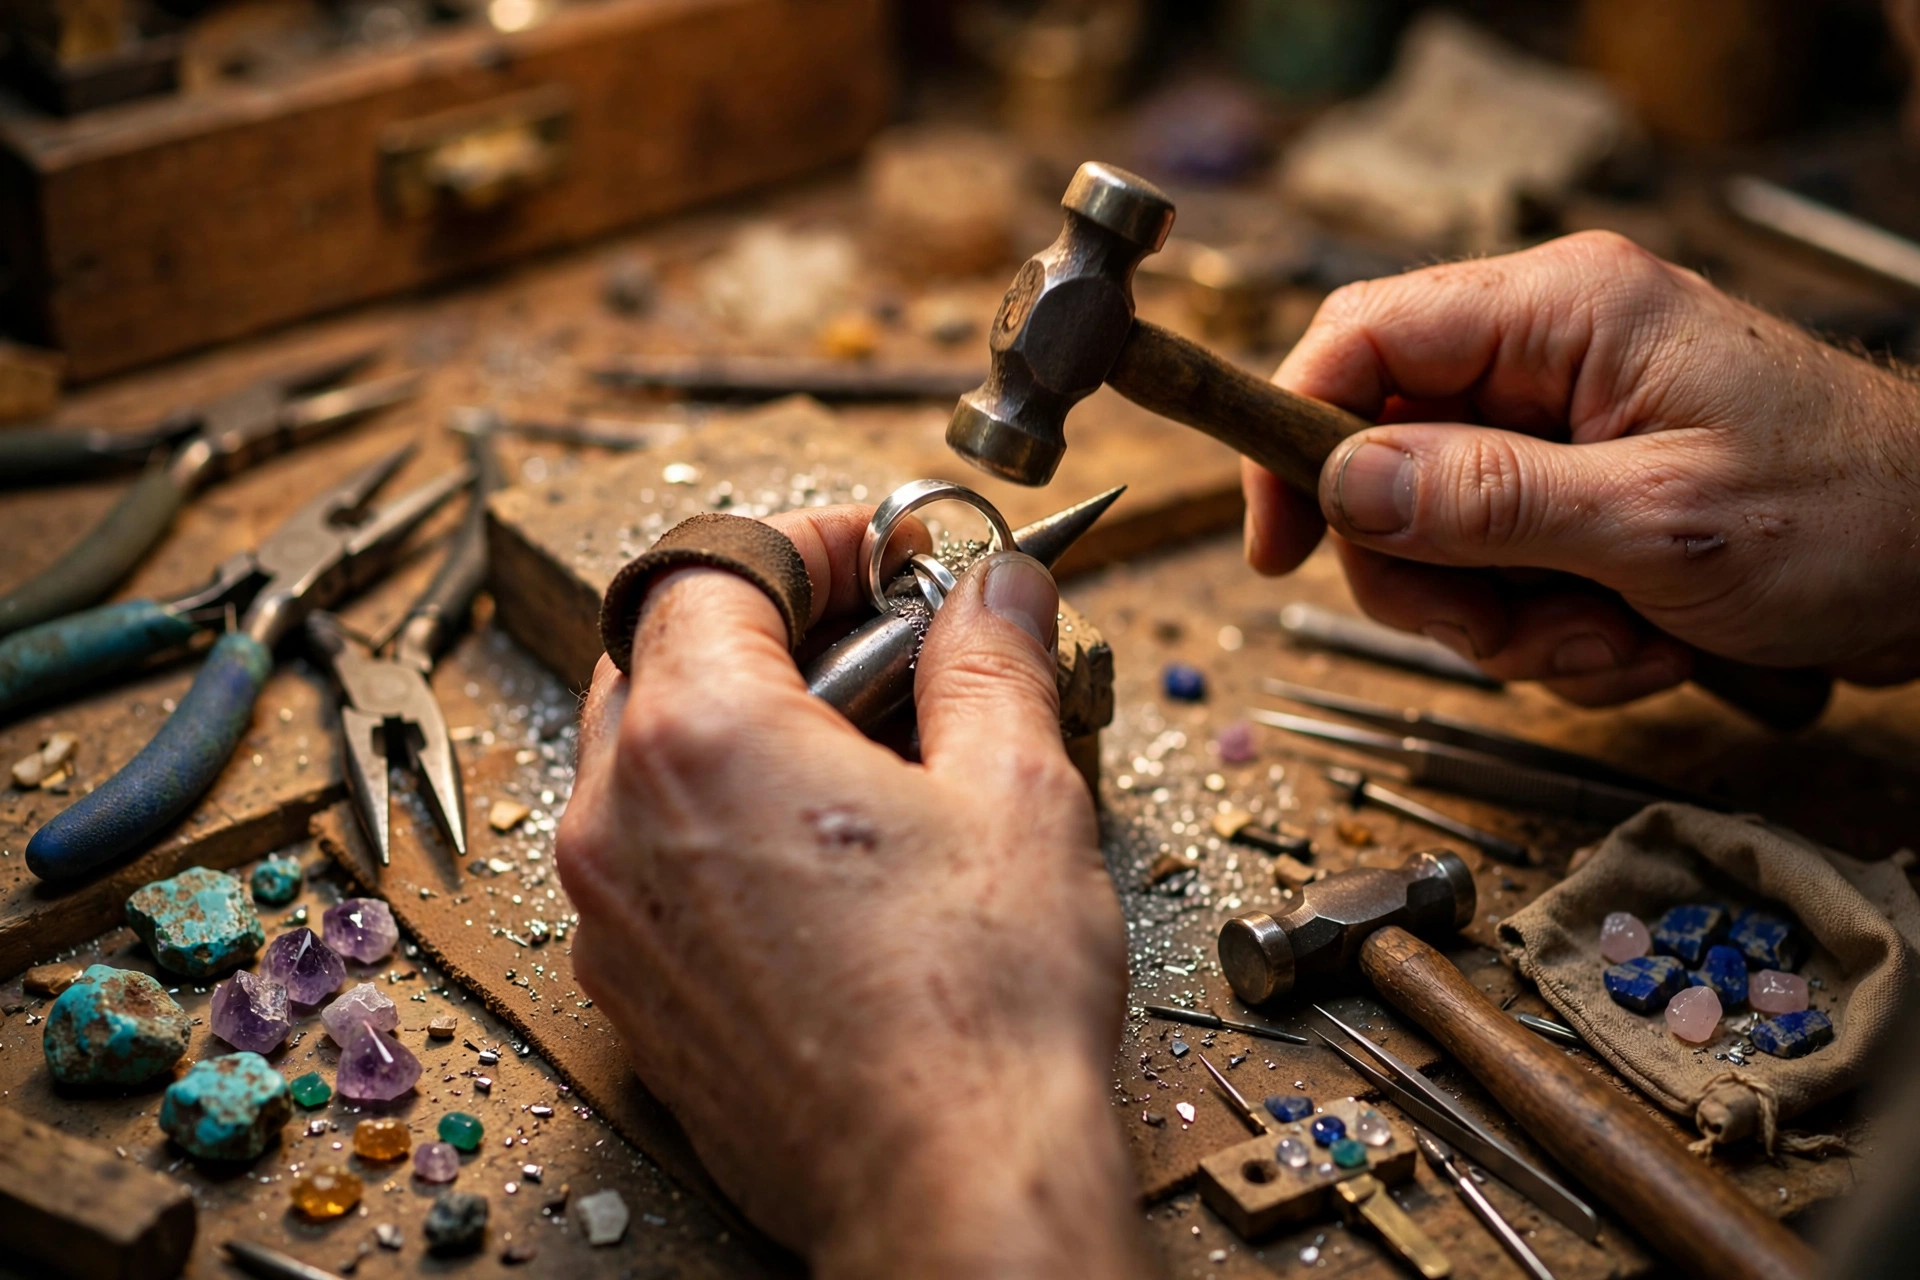
Making your own jewelry sounds like something that requires a studio, expensive tools, and years of training. It does not. Some of the most popular handmade jewelry — beaded bracelets, wire-wrapped pendants, simple earrings — needs about $30 of supplies and an afternoon to learn. Whether you want a creative hobby, personalized gifts, or the start of a small business, this guide covers how to make jewelry from your first bracelet to techniques that make your pieces look professional.
Why Make Your Own Jewelry?
- It is genuinely affordable to start. A basic beading kit costs less than one nice store-bought necklace.
- You get exactly what you want. The right length, the right colors, the right stones — no compromises.
- Handmade gifts beat store-bought ones. A bracelet you made carries meaning no gift card can match.
- It can become income. Plenty of sellers on Etsy and at craft fairs started with the projects in this guide.
- It is relaxing. Repetitive handwork — stringing beads, wrapping wire — is genuinely calming, much like other focused hobbies. If you enjoy precision crafts, you might also like our archery accuracy tips for a different kind of focus.
- how to press flowers in a book
- how to make a sigil
People have been making jewelry for thousands of years — the history of jewellery stretches back to ancient civilizations. You are joining a very old tradition.
Tools You Actually Need (Beginner Kit)
Do not buy a 200-piece toolkit. Start with these:
- Round-nose pliers — for making loops and curves in wire
- Chain-nose pliers — flat jaws for gripping and opening jump rings
- Wire cutters — flush cutters give the cleanest cuts
- Crimping pliers (if beading) — for securing crimp beads
- Beading wire or elastic cord — the string your beads go on
- Jump rings, clasps, and crimp beads — the findings that hold everything together
- A bead board or towel — keeps beads from rolling away
A starter kit with all of this costs $25 to $40 online. Buy decent pliers — cheap ones with rough jaws will scratch your wire and findings.
Materials: What to Buy First
Beads
Glass beads are the best starting point: cheap, colorful, and consistent in size. Gemstone beads (amethyst, turquoise, quartz) cost more but make pieces look expensive. Wood and acrylic beads are great for casual, chunky styles. Buy in strands rather than tiny mixed bags — you get better color matching and lower cost per bead.
Wire
Start with 20-gauge and 22-gauge copper or craft wire. It is cheap, easy to bend, and comes in colors. Move to sterling silver or gold-filled wire once your technique is solid — practicing on expensive wire is just expensive practice.
Findings
Findings are the metal bits: clasps, jump rings, headpins, eyepins, earring hooks. Buy them in the same metal finish (all silver-tone or all gold-tone) so your pieces look coordinated. Stainless steel findings are affordable and do not tarnish.
Project 1: Beaded Stretch Bracelet (30 Minutes)
The perfect first project. No tools needed beyond scissors.
- Measure your wrist and cut elastic cord to wrist size plus 3 inches.
- Stretch the cord a few times so it does not stretch later and leave gaps.
- String your beads in a pattern. Lay them out on a towel first to check the design.
- When the beads wrap comfortably around your wrist, tie a surgeon’s knot (a square knot with an extra loop).
- Add a tiny drop of jewelry glue on the knot, let it dry, then trim the ends.
- Slide the knot inside a bead to hide it.
That is it. You made jewelry. Make three more in different color schemes and you have gifts for the next month.
Project 2: Simple Beaded Necklace (1 Hour)
- Cut beading wire to your desired necklace length plus 4 inches.
- Thread a crimp bead, then one half of your clasp, then pass the wire back through the crimp bead to form a loop.
- Flatten the crimp bead with crimping pliers (or chain-nose pliers in a pinch).
- String your beads in the planned pattern.
- Repeat the crimp-and-clasp process on the other end.
- Trim excess wire close to the crimp.
The crimp bead is doing all the work here — it locks the wire so nothing slides off. Practice crimping on scrap wire first; a well-crushed crimp is the difference between a necklace that lasts years and one that falls apart.
Project 3: Wire-Wrapped Pendant (1 Hour)
Wire wrapping looks impressive but the basics are simple:
- Choose a stone or cabochon (a flat-backed polished stone).
- Cut about 18 inches of 20-gauge wire.
- Make a small loop at one end with round-nose pliers — this becomes the bail (the loop your chain passes through).
- Wrap the wire around the stone in a cage pattern, crossing front and back, tucking ends neatly.
- Finish by wrapping the tail tightly around the bail base 2 to 3 times and trimming.
Your first few will look handmade in the rough sense. By the tenth, they will look handmade in the expensive sense. Wire wrapping rewards practice more than almost any other jewelry technique.
Project 4: Simple Dangle Earrings (20 Minutes)
- Slide a bead onto a headpin.
- Using round-nose pliers, bend the headpin wire 90 degrees just above the bead.
- Wrap the tail around to form a loop, trimming the excess.
- Open a jump ring with a twisting motion (never pull it apart sideways).
- Connect the loop to an earring hook through the jump ring and close it.
- Repeat for the second earring, matching the first.
Techniques That Make Your Work Look Professional
- Consistent loops: mark your round-nose pliers with a marker so every loop is the same size.
- Flush cuts: always cut wire with the flat side of the cutters against your work — no sharp pokey ends.
- Proper jump rings: open them with a twist (front-to-back), never by pulling apart. Twisted rings close invisibly; pulled rings never quite close.
- Finish the back: the back of a pendant should look as clean as the front. Tuck and trim every wire end.
- Match your metals: one finish per piece. Mixed metals look accidental unless it is clearly intentional.
Common Beginner Mistakes
- Buying the cheapest everything: bargain beads with inconsistent holes and rough pliers will frustrate you. Spend a little more on tools.
- Skipping measurements: bracelets that do not fit do not get worn. Measure wrists, necks, and fingers.
- Overcomplicating the first project: start with the stretch bracelet, not a Viking knit chain.
- Forgetting to secure knots: glue every knot on elastic. Every single one.
- Working in bad light: small findings and dark beads demand good lighting. A $15 desk lamp changes everything.
From Hobby to Side Income
If you catch the bug, handmade jewelry sells well. Start by making pieces for friends and asking for honest feedback and photos. Price your work by adding materials cost, a fair hourly rate for your time, and a margin — most beginners undercharge badly. Etsy, local craft fairs, and Instagram are the usual starting points. Keep your early designs simple and repeatable; a bracelet you can make in 30 minutes is a product, a one-off masterpiece is a hobby.
Frequently Asked Questions
How much does it cost to start making jewelry?
About $30 to $50 for a basic beading setup (pliers, wire, beads, findings). Wire wrapping adds almost nothing if you already have pliers — just wire and stones.
What is the easiest jewelry to make as a beginner?
Stretch bracelets. No metalwork, no clasps, no special tools — just beads, elastic, and a knot. Most people finish their first one in under 30 minutes.
Do I need a torch or kiln?
No. Soldering and metal clay need heat, but beading, wire wrapping, and basic metalwork do not. You can make and sell jewelry for years without ever lighting a torch.
Where should I buy supplies?
Online bead shops offer the best selection and prices for beginners. Local craft stores are good for your first kit since you can see and feel the materials. Avoid the tiny mixed bead bags — buy strands for consistent quality.
Learning how to make jewelry is one of those hobbies that pays for itself quickly — in gifts you no longer buy, in pieces that fit exactly right, and in the quiet satisfaction of wearing something you built with your hands. Start with the stretch bracelet this weekend. By next month, you will be wrapping pendants and wondering why you ever paid full price for jewelry. Looking for another hands-on hobby? Learn how to set up pool balls for game night, or see how long 9 holes of golf takes for a relaxing outdoor option.
Leave a Reply