
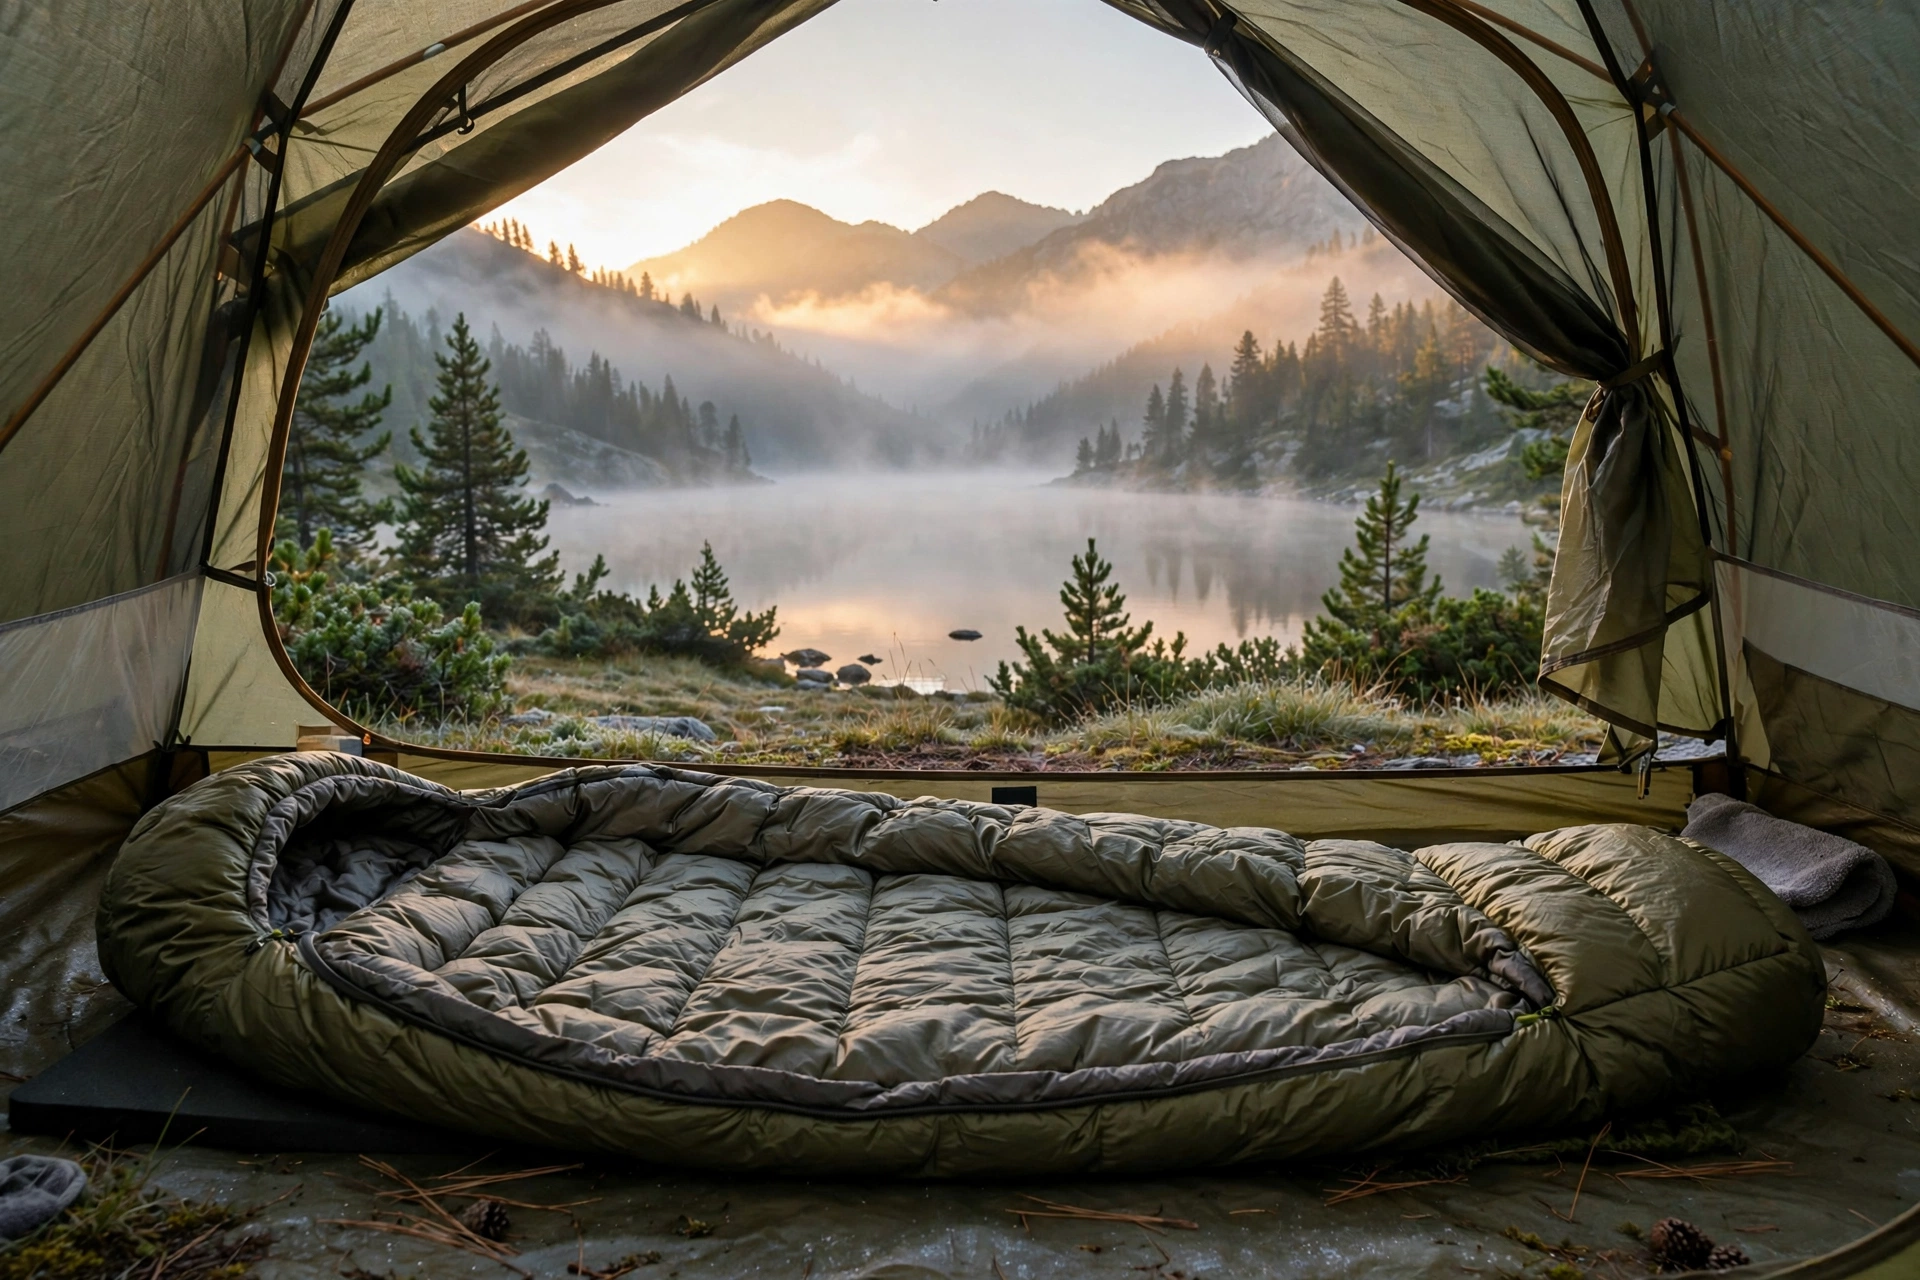
A bad sleeping bag can ruin a whole trip. You toss and turn, your feet freeze at 3 a.m., and by morning you swear you will never camp again. The good news is that picking the right one is not complicated once you know what actually matters. This guide walks you through how to choose a sleeping bag step by step, in plain language, so you buy once and sleep well for years.
Start With the Temperature Rating
The temperature rating is the single most important number on the bag, and it is also the most misunderstood. Most bags sold today use the ISO 23537 standard (it replaced the older EN 13537 standard), which gives you two useful numbers:
- Comfort rating — the lowest temperature at which a cold sleeper stays comfortable. This is the number you should shop by.
- Limit rating — the lowest temperature at which a warm sleeper can still sleep without waking up cold. Marketing loves this number because it looks better.
- how to build a home climbing wall diy
Always buy based on the comfort rating, not the limit rating. And then add a buffer: choose a bag rated about 10°F (5°C) lower than the coldest night you expect. Weather forecasts are wrong, cold air sinks into valleys, and you will thank yourself at 2 a.m.
As a rough guide: a 40°F (5°C) bag works for warm summer nights, a 20°F (-7°C) bag covers three-season camping for most people, and anything rated 0°F (-18°C) or lower is for real winter. If you only camp in summer, do not pay extra for a winter bag — you will overheat and sleep worse, not better.
Down vs. Synthetic Fill: The Big Decision
The insulation inside your bag is either down (duck or goose feathers) or synthetic (man-made fibers). Each has real trade-offs.
Down fill
- Packs down much smaller and weighs less for the same warmth.
- Lasts longer — a good down bag can keep its loft for 10+ years with care.
- Loses almost all insulating power when wet and takes forever to dry.
- Costs more, sometimes a lot more.
Synthetic fill
- Keeps you reasonably warm even when damp, and dries faster.
- Cheaper — often half the price of an equivalent down bag.
- Bulkier and heavier, and the insulation flattens out after fewer seasons.
- A better pick for beginners, kids, and anyone camping in rainy places.
Down is measured in fill power (550, 650, 800, and so on). Higher fill power means better warmth for the weight — an 800-fill bag is lighter than a 600-fill bag rated for the same temperature. If the bag will get rained on regularly, look for hydrophobic-treated down or just go synthetic.
Shape Matters More Than You Think
Sleeping bags come in three basic shapes, and the right one depends on how you sleep.
- Mummy bags taper from shoulders to feet and have a hood. They are the warmest and lightest option because there is less empty air for your body to heat. The downside: they feel snug, and side sleepers sometimes feel trapped.
- Rectangular bags give you room to sprawl and can often unzip fully into a blanket. They are great for car camping but heavy and drafty for cold weather.
- Semi-rectangular (barrel) bags split the difference — more room than a mummy, warmer than a rectangle.
Check the shoulder, hip, and foot girth numbers if you are broad-shouldered or tall. A bag that squeezes your shoulders compresses the insulation exactly where you need it, which makes cold spots. When in doubt, size up.
Weight and Packed Size
Ask yourself one honest question: will you carry this bag on your back?
- Backpacking: aim for under 3 pounds (1.4 kg) for a three-season bag, and check the packed size — it has to fit inside or on your pack with everything else.
- Car camping: weight barely matters. Spend your money on comfort, room, and a lower temperature rating instead.
This is where most beginners go wrong: they buy a huge, cozy $60 car-camping bag, then try to backpack with it and suffer. Match the bag to how you will actually use it.
Zippers, Hoods, and the Small Details
The little features separate a bag you love from one you tolerate:
- Two-way zipper — lets you vent your feet on warm nights without unzipping the whole bag.
- Draft tube — an insulated flap behind the zipper that stops cold air leaking in. Do not buy a cold-weather bag without one.
- Draft collar — a padded ring around your neck that seals warm air inside the bag. A big deal below freezing.
- Hood with drawcord — on cold nights, your head is a chimney. Cinch the hood down so only your face shows.
- Stash pocket — keeps your phone or headlamp warm and within reach. Batteries die faster in the cold, so sleeping with your phone in the bag is smart.
- Pad loops or sleeve — straps that attach the bag to your sleeping pad stop you sliding off at night, which is the secret cause of many cold nights.
Getting the Fit Right
Sleeping bags come in lengths — usually regular (fits up to about 6 feet) and long (up to 6 feet 6 inches). If you are between sizes, go long; compressed feet get cold fast. If you can, climb into the bag in the store. Lie on your side, roll over, and pull the hood up. If it feels like a straitjacket, it will feel worse at midnight in a tent.
Couples should know that most mummy bags can zip together only with a matching left/right pair from the same brand. Double-wide rectangular bags made for two are simpler and honestly more comfortable.
Match the Bag to Your Trip
- Summer car camping: a 40°F synthetic rectangular or semi-rectangular bag. Cheap, roomy, easy to wash.
- Spring and fall backpacking: a 20°F down mummy bag. The sweet spot for most hikers.
- Winter camping: a 0°F or lower down bag with a draft collar, plus a good insulated pad — the pad matters as much as the bag because the ground steals heat all night.
One more thing people forget: the sleeping pad. A $400 bag on a thin summer pad in October will still leave you cold. For three-season use, look for a pad with an R-value around 4; for winter, 5 or higher.
Simple Care Tips That Double Its Life
- Store the bag in the big mesh sack it came with, not the small stuff sack. Long-term compression kills loft.
- Wash it rarely, and when you do, use a front-loading machine and a down-safe or technical wash.
- Air it out in the shade after every trip — never leave a damp bag packed for days.
- Wear clean base layers to bed. Body oils break down insulation faster than anything else.
Good sleep is the foundation of every active hobby. Whether you are heading out for a weekend under the stars or resting up before a session on your home climbing wall, the right bag means you wake up ready instead of wrecked. And if you wake up stiff on cold mornings, working on improving your flexibility is a great way to shake it off before you hit the trail.
Want the technical background? Read more on Sleeping bag on Wikipedia, Down feather insulation, and Sleeping pad.
You May Also Like
- How to Build a Home Climbing Wall DIY — turn a garage wall into your own training spot.
- How to Improve Flexibility for Dancing — simple routines to loosen stiff mornings on the trail.
Leave a Reply