
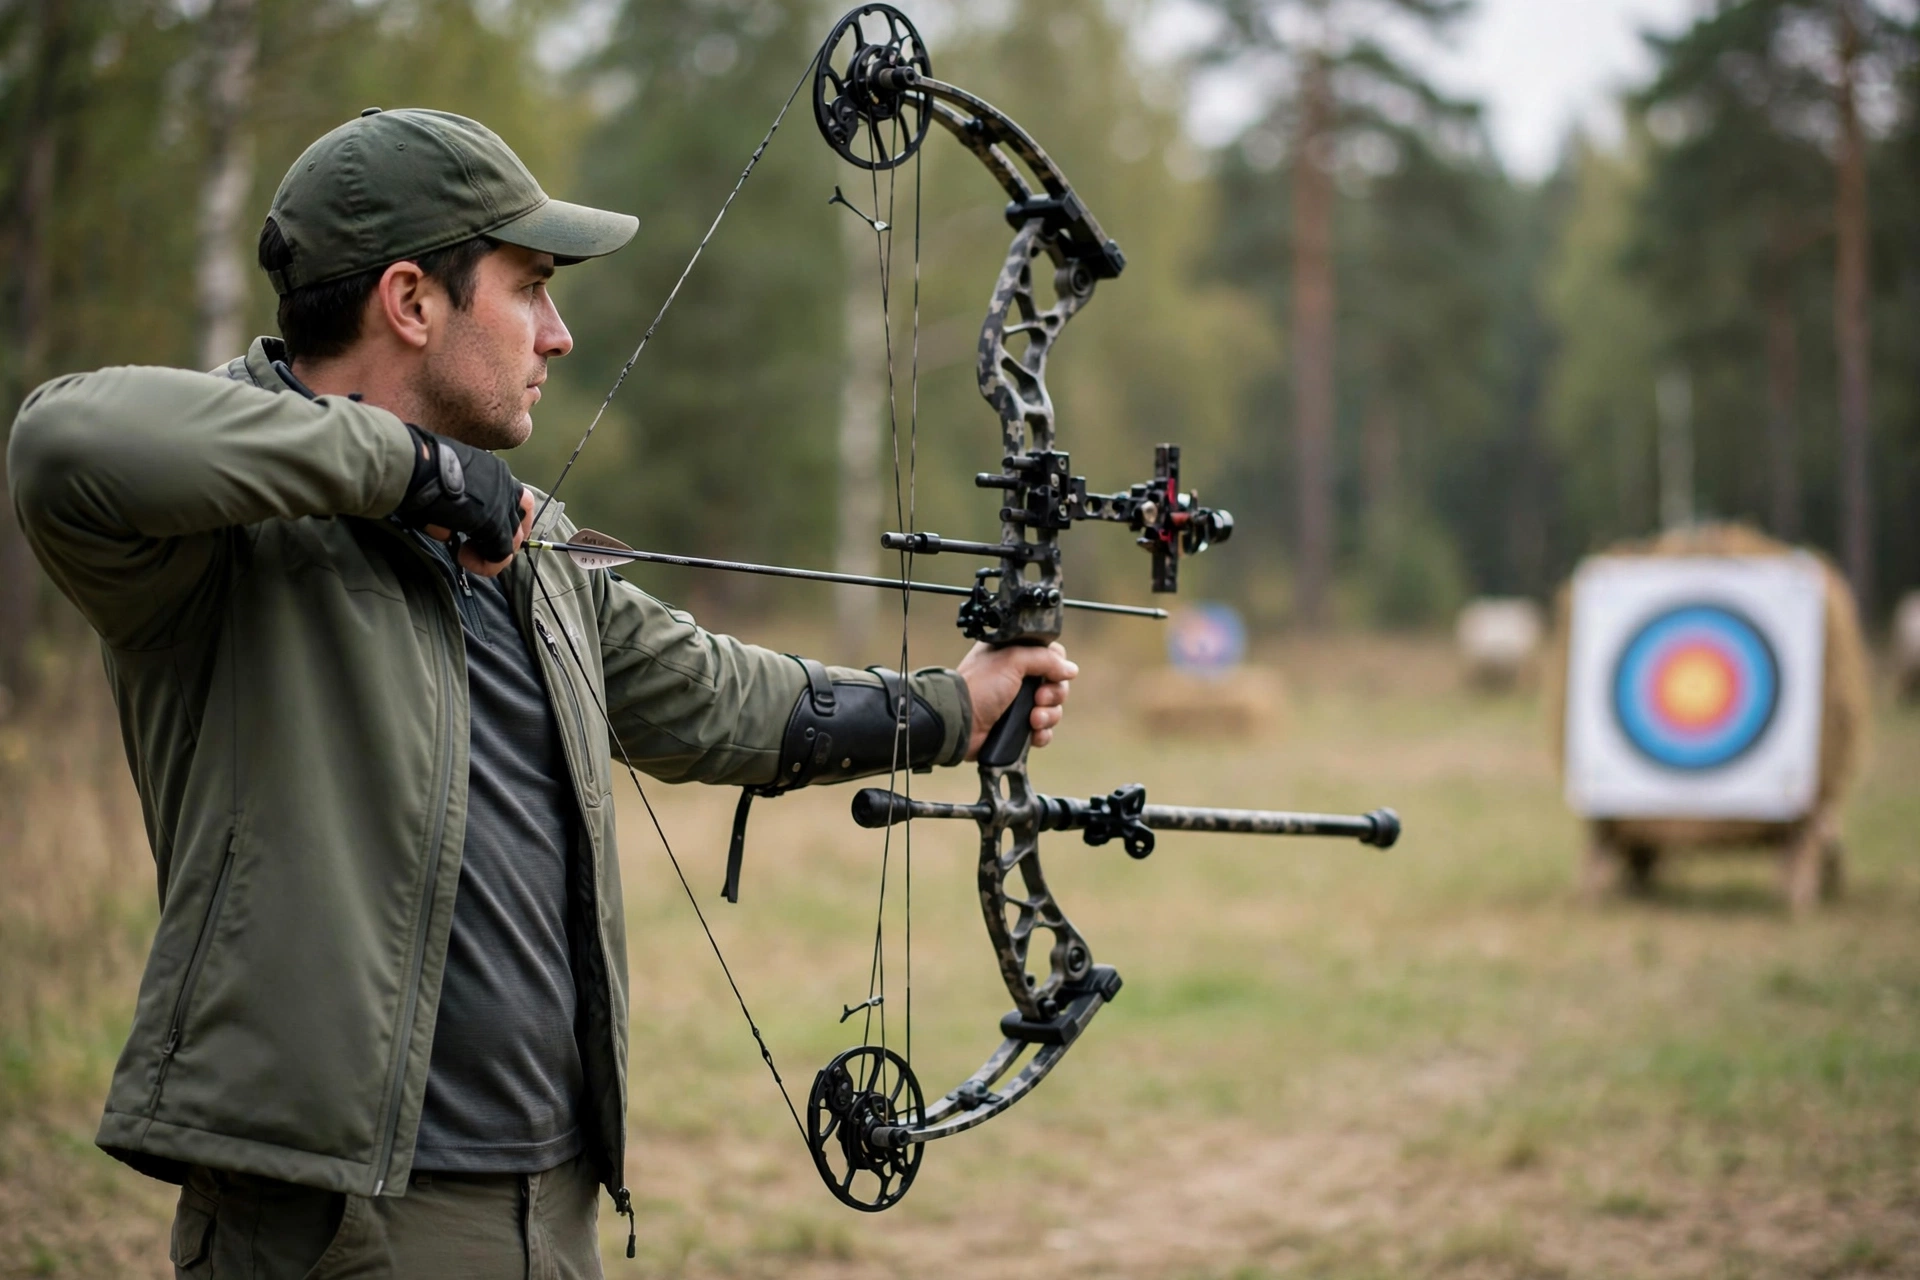
If you have ever watched your arrows scatter across the target like confetti, you know how frustrating archery can be. You draw the bow, aim carefully, release… and the arrow lands nowhere near where you wanted. The good news is that accuracy in archery is rarely about talent. It is about repeatable habits. The archers who shoot tight groups are not doing anything magical. They are doing the same small things, the same way, every single shot. This guide breaks down the exact how to improve archery accuracy tips that take beginners from spraying arrows to stacking them in the gold.
1. Get Your Stance Right
Everything starts with your feet. Stand with your feet shoulder-width apart, with an imaginary line from the target running through the middle of your stance. Your toes should point slightly outward, forming a shallow V. Keep your weight evenly balanced between both feet — leaning forward or back is one of the most common reasons arrows drift high or low. If you shoot a recurve or traditional bow, an open stance (front foot angled slightly toward the target) works well for most people. Compound shooters often prefer a square stance. Pick one, write it down, and use it every time. Consistency at your feet creates consistency at the target. Before moving on, it helps to understand the basics of archery so the terminology below makes sense.
2. Nock Your Arrows the Same Way Every Time
Accuracy is built on sameness, and the shot sequence starts the moment you nock the arrow. Place the arrow on the rest with the odd-colored vane (the cock feather) facing away from the bow, and snap the nock onto the string at the exact same point — right under your nocking point or between your two nocking points. A tiny difference in where the arrow sits on the string changes where it flies. Develop a little ritual: grab arrow, place on rest, snap on string, done. Boring is good here.
3. Find a Solid Anchor Point
Your anchor point is where your drawing hand touches your face at full draw, and it is the single biggest factor in left-right accuracy. Without a consistent anchor, your arrows will wander no matter how steady you feel. Most recurve shooters anchor with the index finger tucked under the jawbone and the string touching the tip of the nose and the corner of the mouth. Compound shooters often use a kisser button or peep sight combined with a jaw anchor. The rule: it must feel identical every time. If you have to hunt for it, your anchor is not solid yet. Practice drawing and anchoring in front of a mirror without releasing to build the muscle memory.
4. Relax Your Bow Hand
Death-gripping the bow is the classic beginner mistake. A tight grip torques the bow at release and throws arrows sideways. Your bow hand should be relaxed — the bow rests in the web between your thumb and index finger, and your fingers drape loosely around the grip without squeezing. Many archers let their fingers hang open completely and use a wrist sling or finger sling to catch the bow. It feels wrong at first, like the bow will fly out of your hand. It won’t. A relaxed hand is a steady hand.
5. Aim Small, Miss Small
Old shooting wisdom applies perfectly to archery: if you aim at the whole target, you will hit the whole target — scattered everywhere. Instead, pick a tiny spot. Not the gold ring. A speck of paint on the gold ring. A single arrow hole from an earlier shot. Focusing your eyes on a precise point tightens your aim subconsciously. This is why experienced archers often shoot at smaller target faces at short distances — the brain locks onto a small target and the body follows.
6. Control Your Release
The release is where most accuracy dies. Punching the trigger (compound) or plucking the string (fingers) jerks the arrow off line. For finger shooters, the release should be a relaxation — your fingers simply open and the string slides off. Think of it as letting go, not opening. For compound shooters using a release aid, use back tension: keep pulling through the shot with your back muscles so the release fires as a surprise. If you know exactly when the shot will break, you will flinch. A surprise release cannot be flinched.
7. Follow Through
The arrow is still on the string for a fraction of a second after release, and anything you do in that moment affects the shot. Dropping your bow arm or turning your head to see where the arrow went are the two big follow-through killers. After release, keep your bow arm up and pointing at the target, and keep your drawing hand pressed against your face. Hold the position for a full second after the arrow hits. It feels theatrical, but follow-through is free accuracy.
8. Breathe Before You Shoot
Tension ruins form, and nothing creates tension like holding your breath. The pattern that works for most archers: draw the bow while breathing in, settle into your anchor, exhale about halfway, and release during the natural pause. Never shoot at full lungs or fully empty — both create wobble. If you have been holding at full draw for more than about seven seconds, let down and start over. Muscles fatigue fast at full draw, and a tired shot is an inaccurate shot.
9. Check Your Equipment
You cannot out-shoot bad equipment. Run through this checklist:
- Arrow spine: arrows that are too stiff or too weak for your draw weight will fishtail. Match spine to your setup using the manufacturer’s chart.
- Nocking point: if it has slipped, your arrows will porpoise up and down. Check it regularly.
- Rest and sight: make sure nothing has loosened. A sight that shifts a millimeter moves your group inches at 20 yards.
- String condition: a frayed or stretched string changes brace height and timing.
- Bow tune: paper tuning or walk-back tuning will show whether your arrows leave the bow straight.
- how to swing a golf club
- how to swing a golf club
Most archery shops will check your tune for a small fee, and it is money well spent. If you shoot a recurve bow, pay special attention to brace height — it drifts as the string stretches.
10. Practice With Drills, Not Just Arrows
Shooting 100 arrows with sloppy form just grooves sloppy form. Try these drills instead:
- Blind bale: stand 5 yards from a large target with your eyes closed (after aiming safely first). Focus only on the feel of the release and follow-through. This kills target panic.
- One arrow: shoot a single arrow, walk to the target, study it, walk back. This forces full focus on every shot.
- Distance ladder: shoot 3 arrows at 10 yards, then 3 at 20, then 3 at 30, then work back down. It teaches you to trust your form at every distance.
- Scoring rounds: once a week, shoot a scored round and write down the result. What gets measured gets improved.
Twenty focused arrows beat a hundred careless ones. Quality practice builds the consistency that shows up as accuracy.
Mistakes That Kill Accuracy
- Changing your anchor mid-session because a shot felt off.
- Over-bowing: a draw weight too heavy for you causes shaking and collapsing form.
- Peeking at the target during release to see where the arrow goes.
- Rushing: shooting before you are fully settled at anchor.
- Ignoring the wind outdoors — even a light breeze pushes arrows at long distance.
Frequently Asked Questions
How long does it take to become accurate at archery?
Most beginners see real improvement within 4 to 6 weeks of practicing 2 to 3 times per week. Tight, consistent groups at 20 yards are a realistic goal for your first few months. Competition-level accuracy takes years, but hitting what you aim at is much closer than you think.
Does a more expensive bow improve accuracy?
Up to a point, no. A properly tuned beginner bow in the right draw weight will out-shoot an expensive bow with bad form behind it. Spend money on arrows matched to your setup and a lesson with a coach before upgrading the bow.
Should I close one eye when aiming?
Shoot with both eyes open if you can. It reduces eye strain and gives better depth perception. If you are strongly cross-dominant (right-handed but left-eye dominant), you may need an eye patch or to switch sides — a coach can test this in a minute.
Accuracy in archery is a stack of small consistencies: same stance, same anchor, same release, same follow-through. Work through these tips one at a time instead of trying to fix everything at once. Pick the single biggest leak in your form — usually the anchor or the release — fix it for two weeks, then move to the next. Before long, you will look at your target and wonder when your arrows learned to behave. If you enjoy precision hobbies, you may also like our guide on how long 9 holes of golf takes for a relaxing day on the course, or learn how to set up pool balls properly before your next game night.
Leave a Reply